Hardware DropBeacon v1.0.0 finished.
Hello iBeacon enthusiasts,
after some weeks of development, design adjustments, enclosure designs, firmware iterations and battery tests I finished v1.0.0 of my hardware DropBeacon. You might have read about the DropBeacon iOS app acting like a virtual DropBeacon but where is the real one?
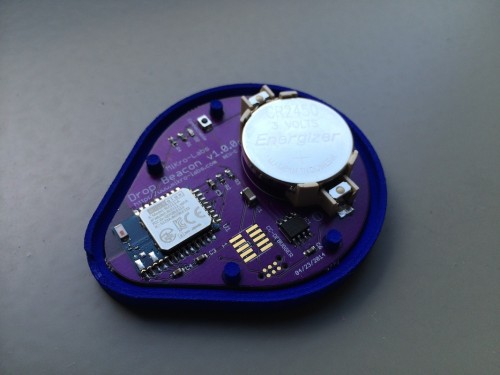
Here is version 1.0.0 of the DropBeacon:
![]()
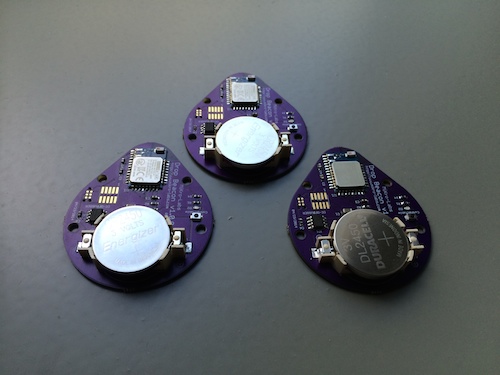
The DropBeacon uses a BLE112 module from Bluegiga. The DropBeacon is designed with an additional SPI flash to enable OTA upgrades of the DropBeacon’s firmware. I’m using the TagConnect Adapter to flash the firmware, which was already described here: http://www.mkroll.mobi/?p=1639. There is space on the PCB to solder the 2×5 CC-Debugger header as well, but I have not soldered it on the photo. Since the beacon was not designed to be as small as possible I’m using a CR2450 battery with a Renata battery clip.
One design decision I made and discussed it with some developers is my write protection. Initially I was thinking of making the DropBeacon not connectable. In order to change the state to make it connectable I added a tactile switch to the design. Once the button is pressed a red LED will lit up indicating that the DropBeacon can now be connected in order to change the UUID, Major and Minor ID. Finally I decided to change the push button behaviour to make the characteristics writable.
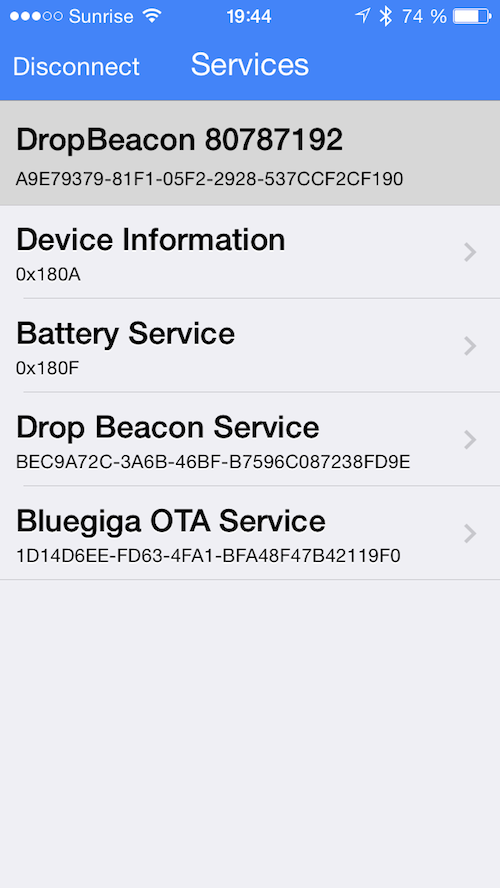
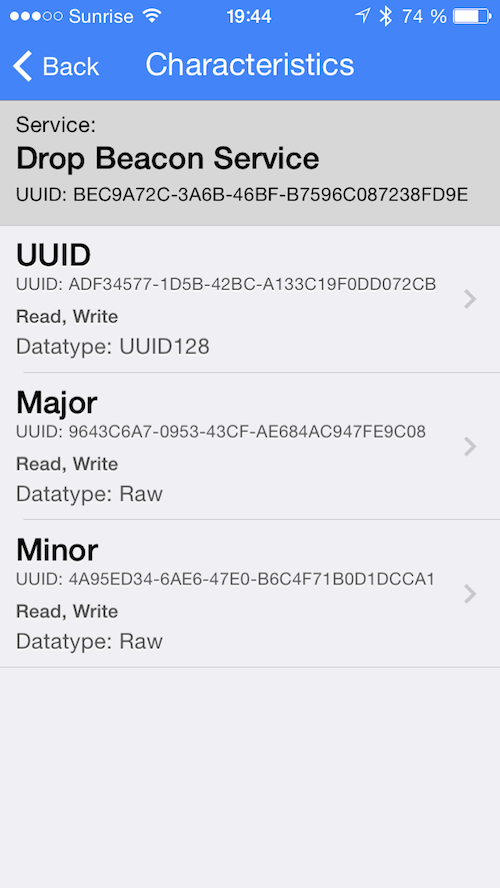
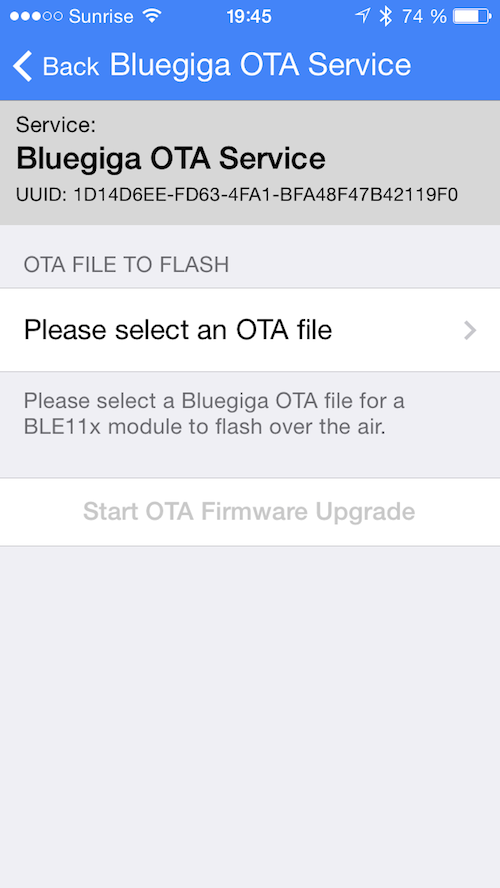
The default behaviour of the beacon now is that it advertises itself as an iBeacon. The Scan Response package includes the name and the battery reading. You can connect to the beacon, read the UUID, Major and Minor ID, read the battery service and the other characteristics. Writing is not enabled and cannot using BLE. You need to press the push button to eagle write. Now you can change the IDs and even upload a new firmware OTA using the Bluegiga OTA Service.
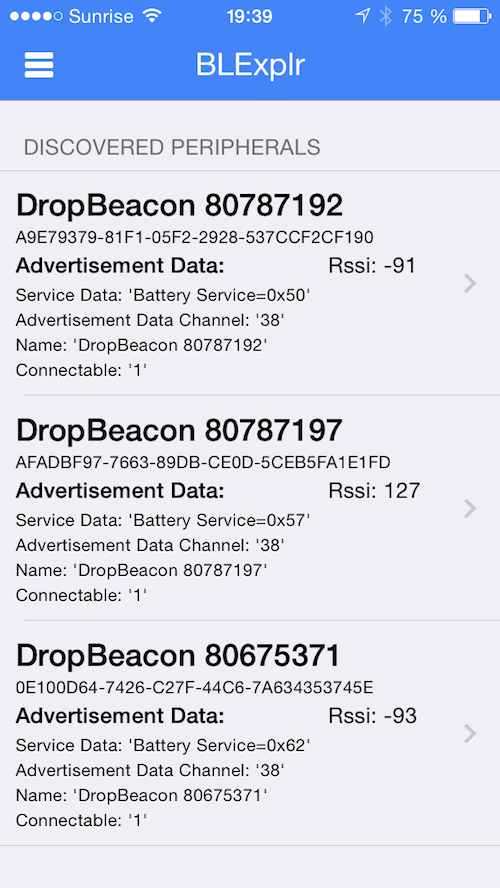
See the screenshot below showing BLExplr discovered three DropBeacons:
The Services and Characteristics are shown in the screenshots below:
I tested the the battery life with an early version of the DropBeacon and an almost finished firmware version. The battery was running for about 6 months and the beacon was advertising with an interval of 320ms. Seems to work fine with the CR2450 battery I’m using. I will now do some further tests and see how log it will take before the battery is empty.
See the following picture showing three of the DropBeacons:
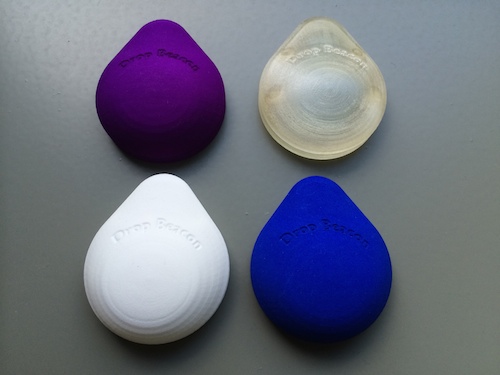
But that’s not all. This time I created an enclosure for the DropBeacon as well. Since I wanted to make it as professional as possible I created an enclosure which can be 3D Printed using a simple STL file. For printing the enclosures I’m not using a 3D printer at home but the services at http://www.shapeways.com. The top and bottom enclosures are available for sale in the “Enclosure” section of my Shapeways Shop: https://www.shapeways.com/shops/mkroll?section=Enclosures&s=0
The following images show the enclosures in difference colours I tested to print on Shapeways:
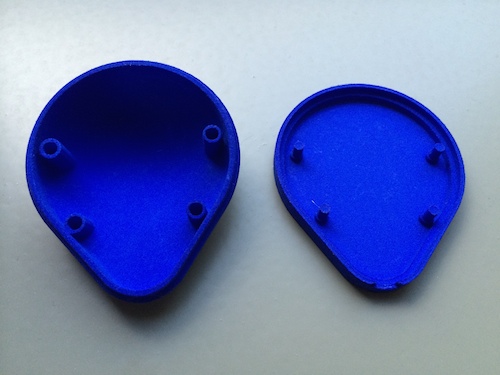
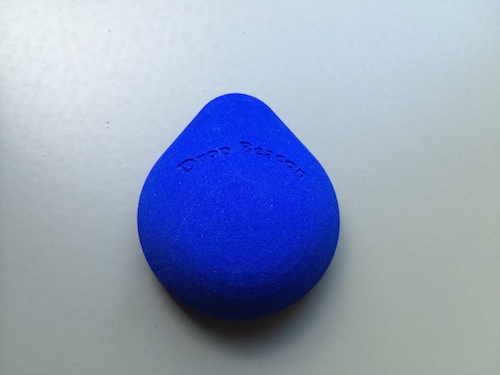
This is how it looks like if the PCB is added to the base part of the enclosure:
I have not yet added the eagle files and the firmware to my github account. I wanted to wait for feedback of the community first. I don’t see this beacon in competition with companies such as estimote, kontakt or other iBeacon manufacturers. It is a development platform for everyone wanting to have full access to a beacon including the firmware which can be updated OTA using BLExplr easily.
Thank you very much for reading and you interest in my designs,
Michael.