iBeacon and Estimote Beacon ranging with BLExplr v1.5.2+
Hello everyone,
some people asked me how to use the ranging feature of BLExplr to range for beacons. So I decided to write a blog post describing how to achieve that.
Please make sure that you have installed the latest version 1.5.2 of BLExplr installed. You can get it from this AppStore link for your convenience: https://itunes.apple.com/us/app/blexplr/id524018027
In order to range a beacon, of course you must have a hardware beacon or another iPhone where you can simulate a beacon. In this post I will describe how to range a hardware beacon which is iBeacon compatible and Estimote beacons as well.
iBeacons
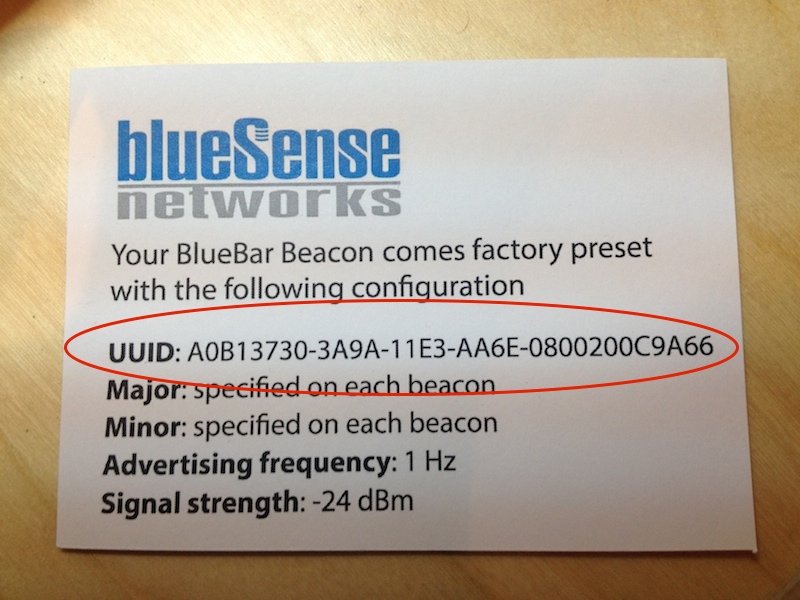
The first thing you need to know about the beacons you want to range is their proximity UUID. It is not the UUID of a Beacon which is shown in BLExplr’s BLE Central view where you can scan for BLE devices in range. It is the proximity UUID embedded in the beacon. For this blog post I will use a BlueBar Beacon which is available at: http://bluesensenetworks.com/shop/.
With my beacon delivery there was a note included which covers the factory presets of my beacon which are shown in the image below:
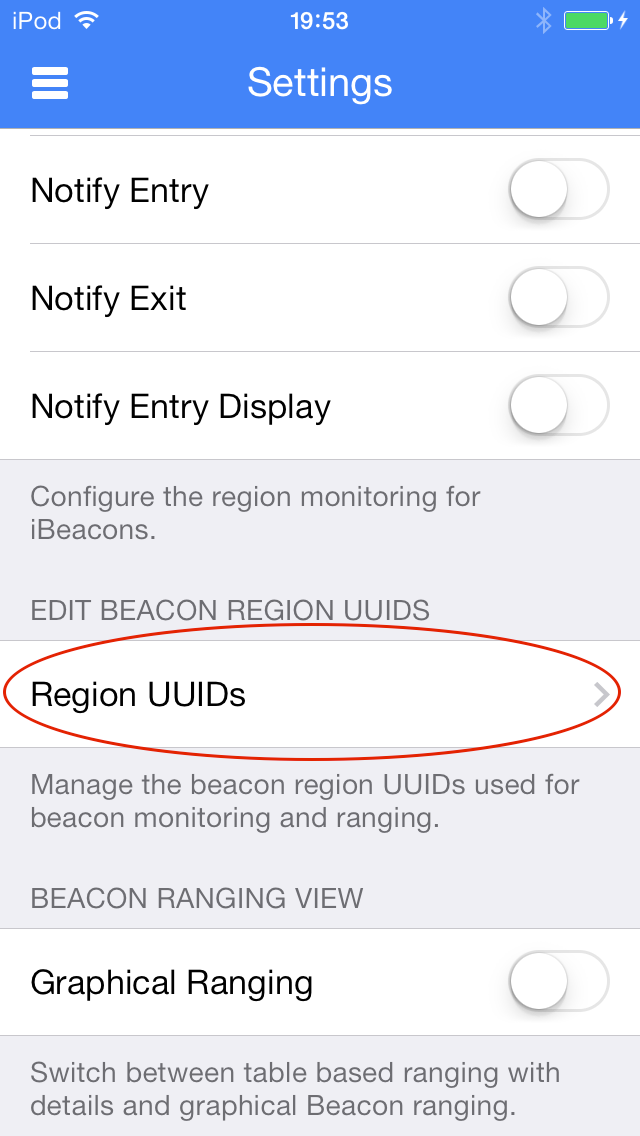
In order to range the beacon with BLExplr, don’t go directly to the Beacon Ranging, but to the Settings View. Scroll down to the “Region UUIDs” and select the cell marked in the screenshot below:
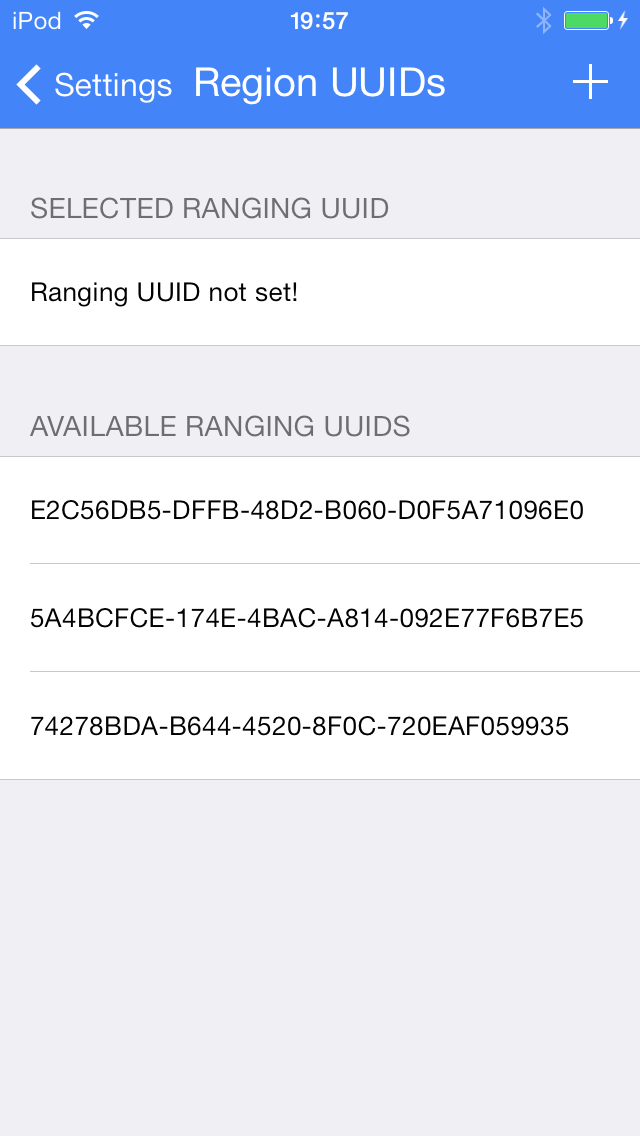
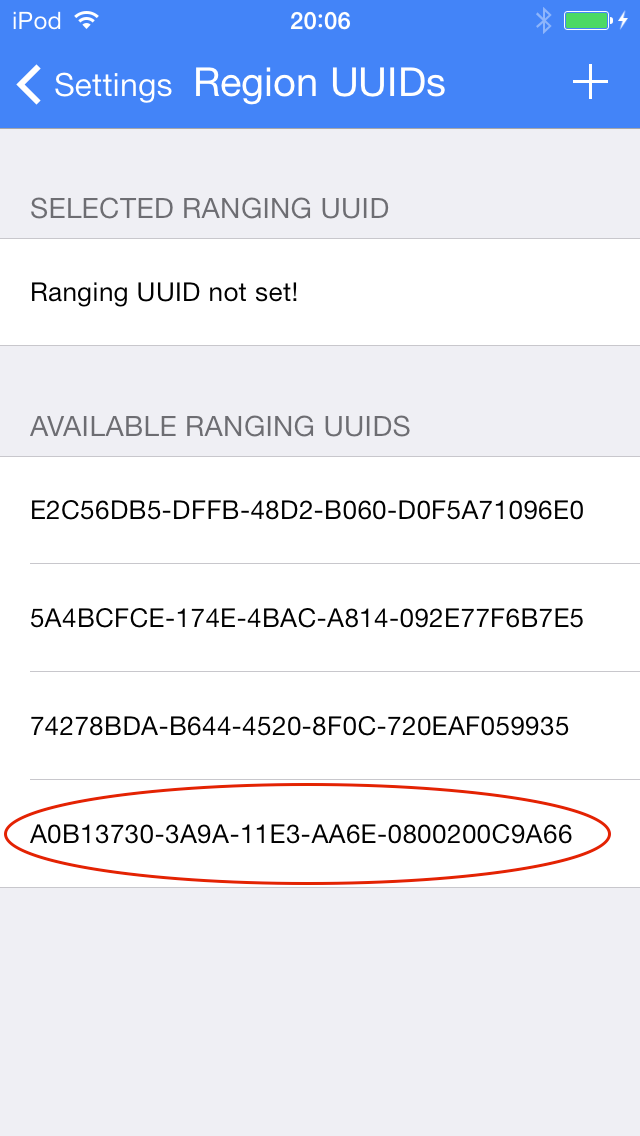
In the Region UUIDs View you can see that there is no ranging UUID selected and three (the default ones that came with BLExplr) available ranging UUIDs:
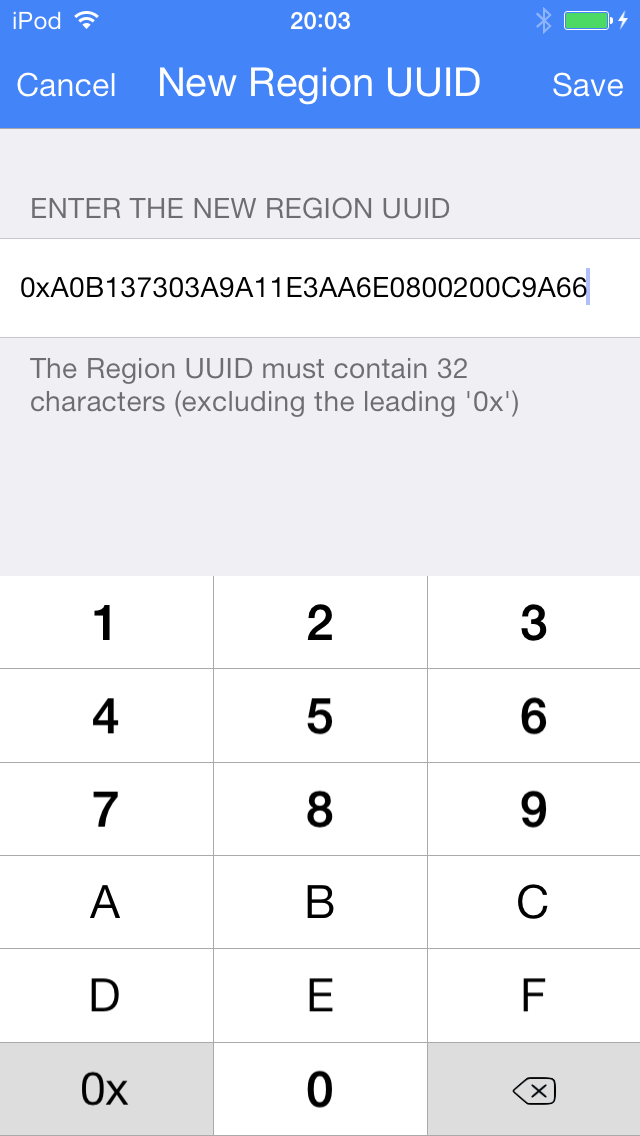
Since the UUID: A0B13730-3A9A-11E3-AA6E-0800200C9A66 is not listed in the Available Ranging UUIDs section, you need to press the “+” icon in the top right of the navigation bar to open the New Region UUID editor. This editor comes with a HEX keyboard for your convenience (most other apps are still using the “normal” keyboard for this kind of UUID editing). You don’t have to and can’t entry the dashes, so simply add the UUID. While entering the characters, the number of characters are counted for your convenience. Once you reached 32 chars, the count will change into a save button.
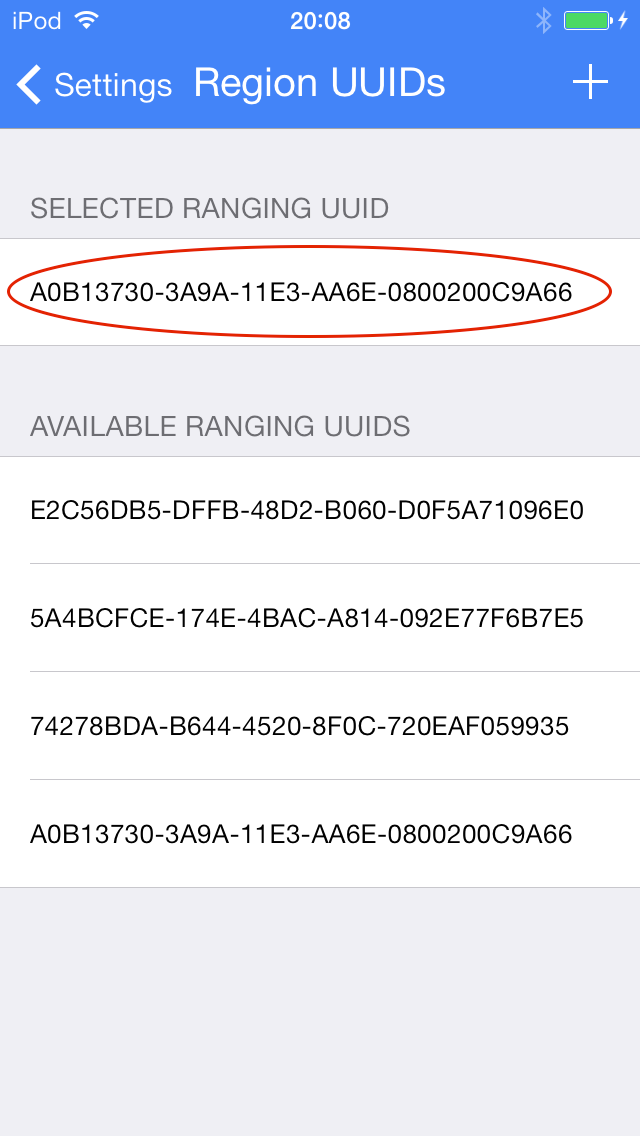
If the UUID is entered correctly (please check) press the Save button to save it and get back to the Region UUIDs view. The Statusbar will show up an overlay telling you that the UUID was added. Now please tap on the UUID that you want to use for ranging beacons.
Another statusbar overlay appears, telling you that the a new ranging UUID is set. The UUID you selected is now shown in the “Selected Ranging UUID” section of the view which is shown in the image below:
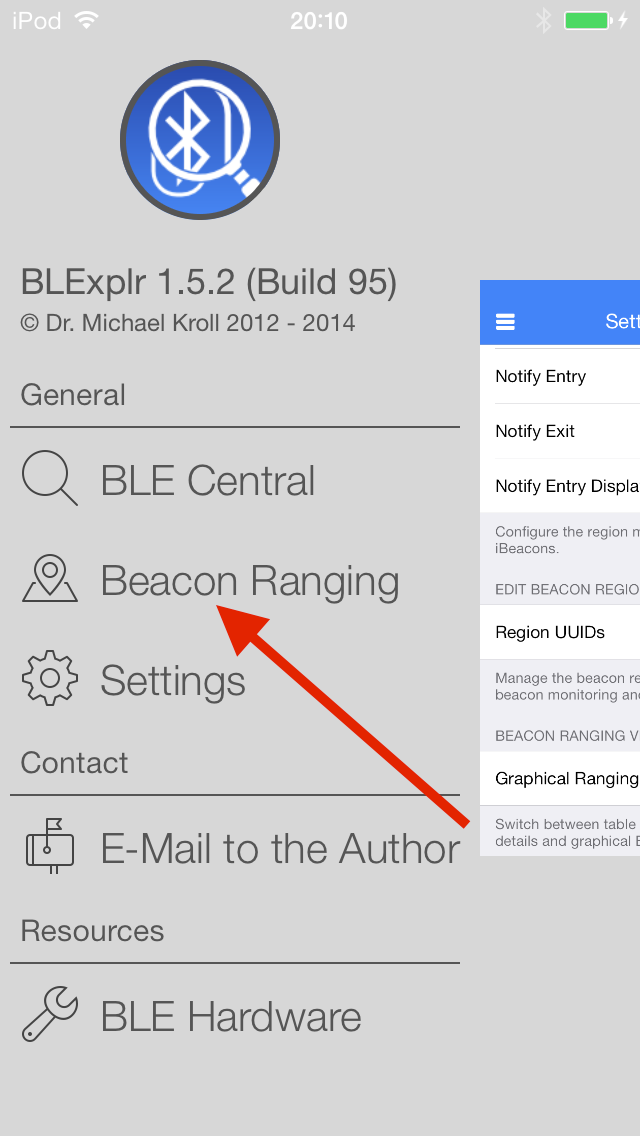
You can now go back to the Settings view and finally select the Beacon Ranging view from the Sidebar:
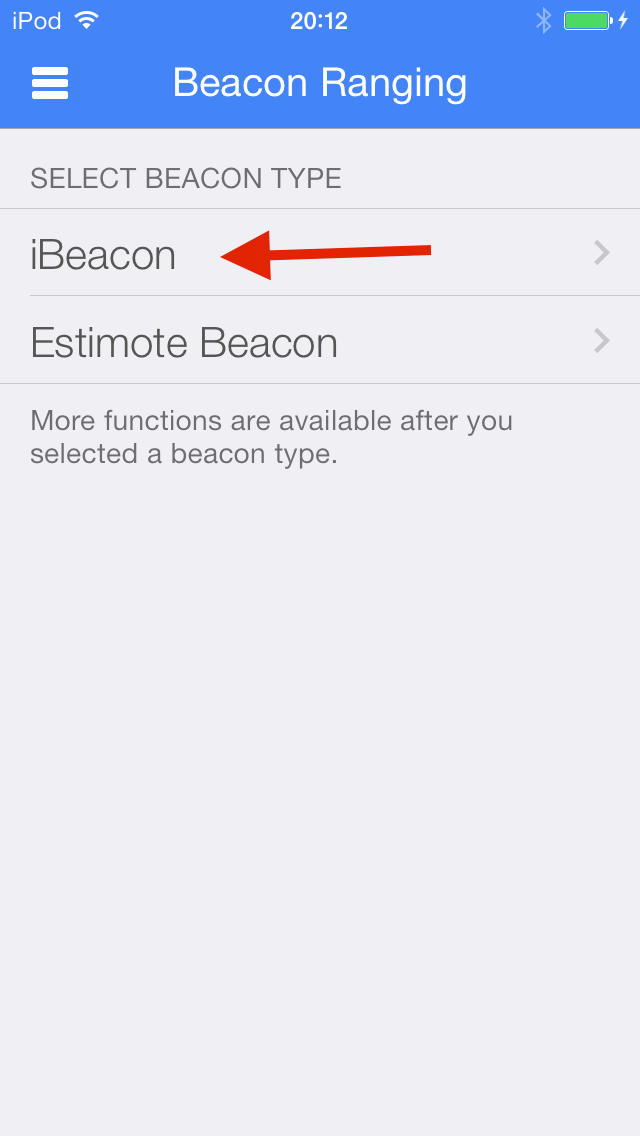
Since we want to range an iBeacon in the first step, you need to select Beacon Type iBeacon in the Beacon Ranging screen shown in the image below:
Now the ranging will start. For your convenience the UUID you are ranging for is shown in the navigation bar below the type of beacons you are ranging for.
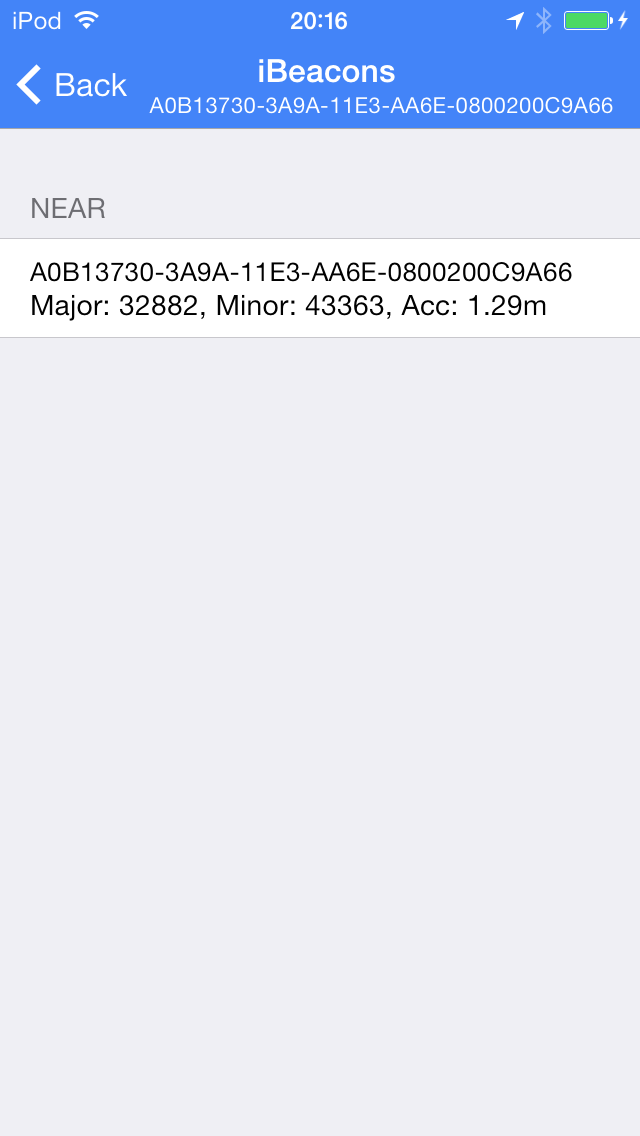
In the section header you can see the region where the beacon is categorised by CoreLocation. The values can be Unknown, Far, Near and Immideate. The beacon which is ranged has the correct UUID, a Major ID of 32882, a Minor ID of 43363 and is about 1.29m far away.
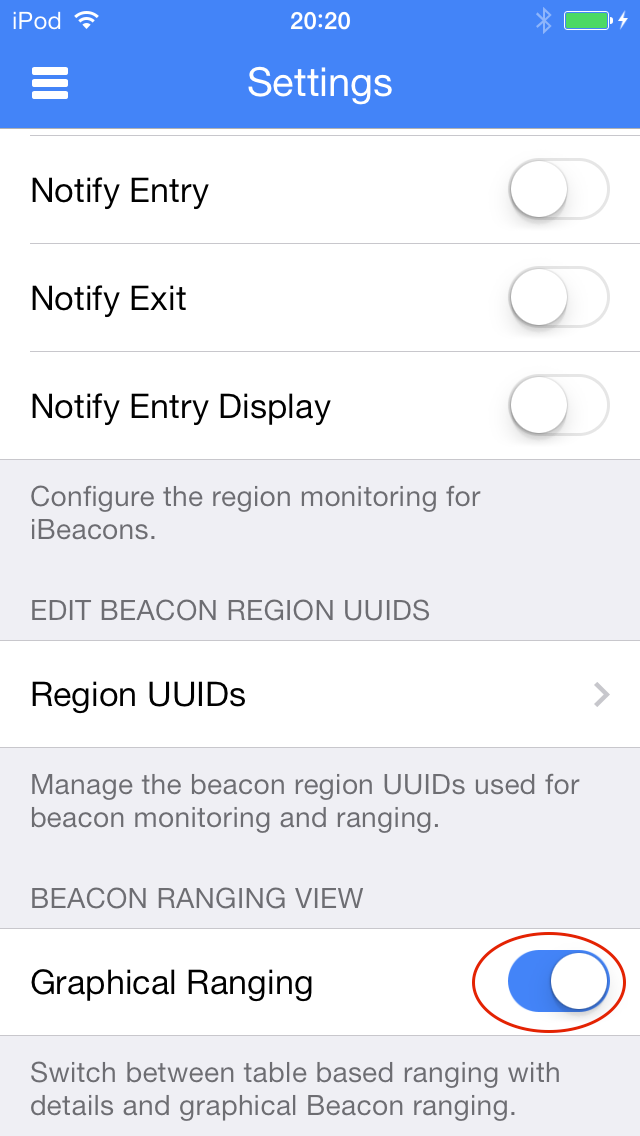
In order to enable graphical ranging you need to go back to the Settings view, and scroll down to the last entry and turn on the Graphical Ranging switch:
Now you can navigate to the Beacon Ranging view and again select iBeacon.
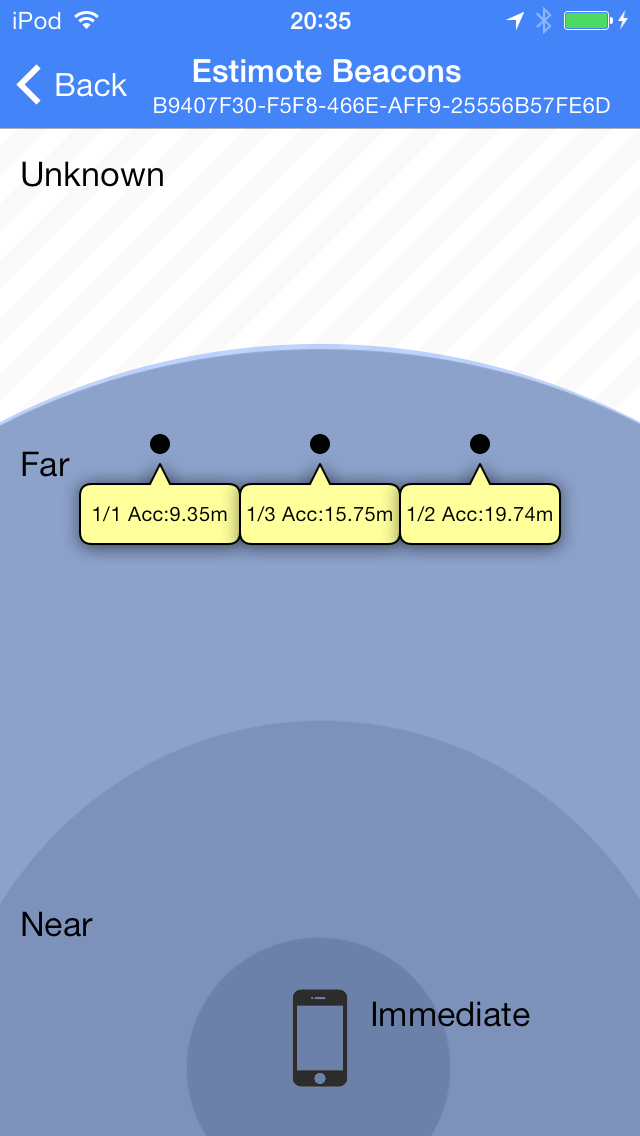
Now the graphical ranging view will show up which is shown on the image below:
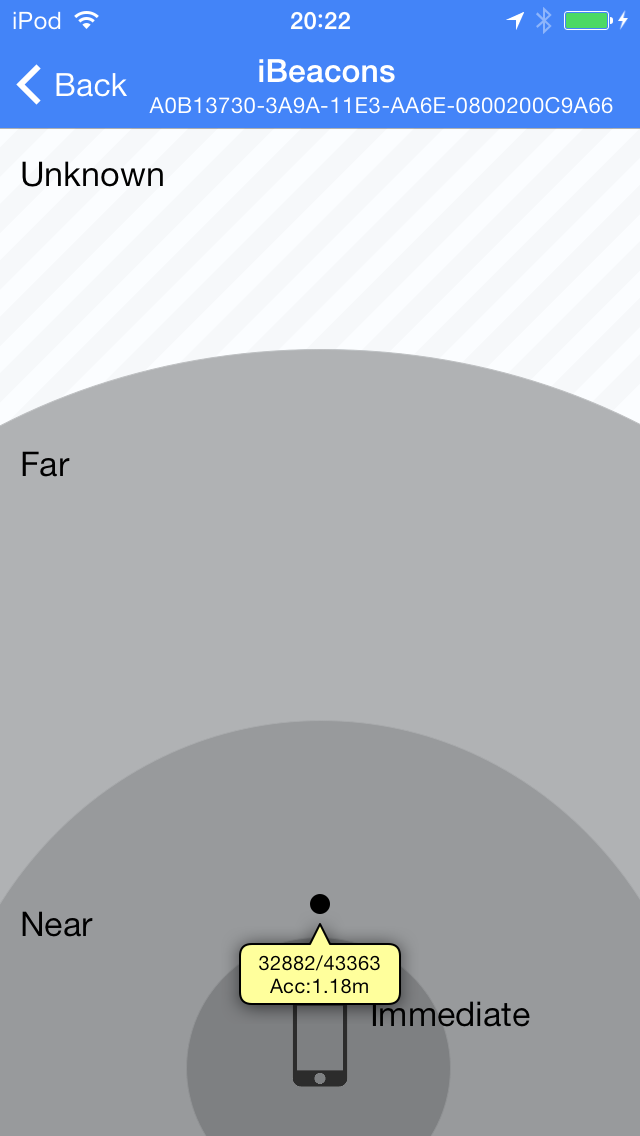
You can see the four proximity regions Unknown, Far, Near and Immediate. The iBeacon is shown as black dot with a tooltip indicating the Major ID, Minor ID and the Accurancy in meters.
Estimote Beacons
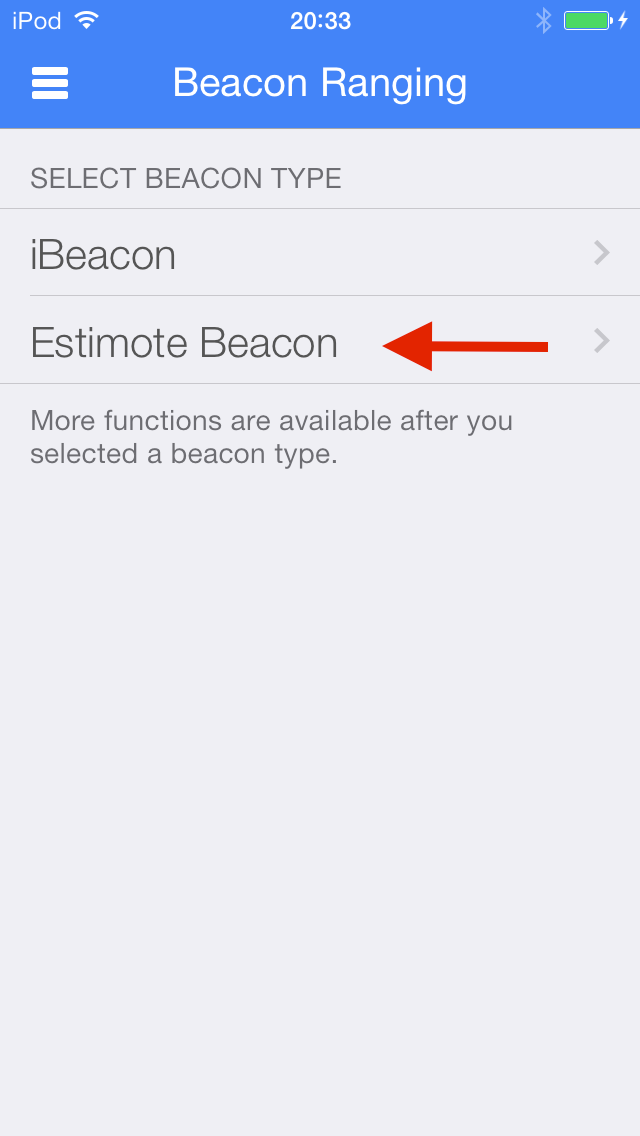
For the Estimote Beacons it is almost identical. BLExplr v1.5.2 was developed with the Estimote iOS SDK v1.2 and tested against the beacon firmware where the proximity UUID of the beacon could not be changed. The Estimote Beacons are delivered with the default proximity UUID **B9407F30-F5F8-466E-AFF9-25556B57FE6D. **Allthough it is not necessary to select a proximity UUID in BLExplr there is a bug included in v1.5.2 that you have to select a Proximity UUID. It doesn’t matter which one you select. It is important that you select one. In the Beacon Ranging view select Estimote Beacon as illustrated in the image below:
As you can see in the image below, I have three Estimote Beacons attached about 10m away from my iPod where I’m using BLExplr to take the screenshots for this blog post. I already reprogrammed the Major and Minor IDs of my Estimote Beacons. All three have the Major ID of “1” and the the Minor IDs are set to “1”, “2” and “3”.
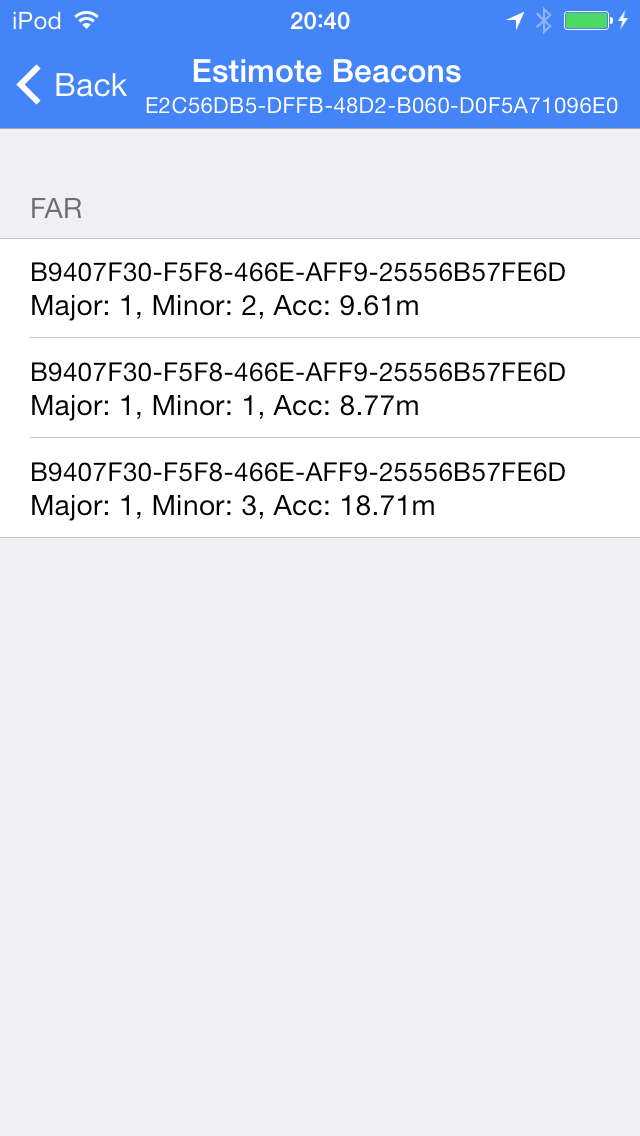
If you turn off graphical ranging in the settings view of BLExplr and open the Beacon Ranging for Estimote Beacons again you can see the “normal” ranging view as shown in the screenshot below:
I hope that this post has given you a short but well illustrated introduction on how to use the Beacon ranging feature of BLExplr. The remaining bugs will be fixed in v1.5.3, promised!
Thanks for reading,
Michael.